Skip to content

commercial lighting breakdown: litehouse ranch

commercials

client: Litehouse Ranch   co-director: Woody Roseland
co-director: Chad Neidt   1st ad: Brian Bell
dp: Justin Balog   1st ac: Max Green
steadicam: Kevin Andrews   gaffer: Tyler Trepod
key grip: Eric Fulcher   art director: Jessie Capstick
art asst: Leah Vogel   art asst: Darci Naftulin
hmu: Kacie Mcintosh   pa: Payson Wick
pa: Shafic Sserwada

youtube video

Using the framework I outlined in my cinematic on-location interview tutorial, this commercial lighting breakdown will be a step-by-step guide showing you how I helped the team go above and beyond expectations for their client, Litehouse Ranch

framework overview

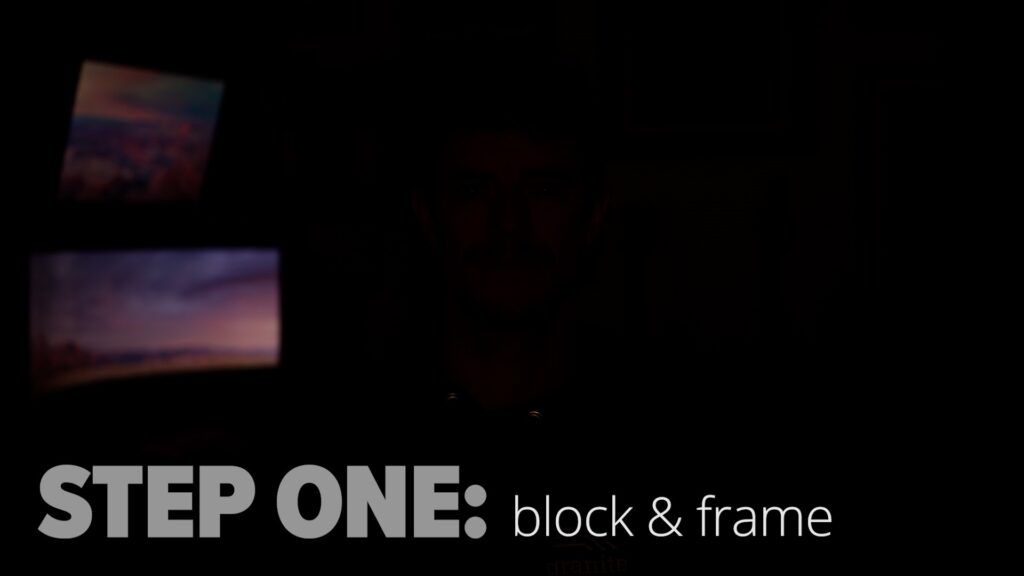
In case you haven’t watched my cinematic interview tutorial, or you just would like a quick refresher on it, let’s recap the step-by-step process I introduced in that video:
 
First, we need to know where our talent is going to be placed, and where the camera will be looking. Everything is going to revolve around those first two critical decisions.
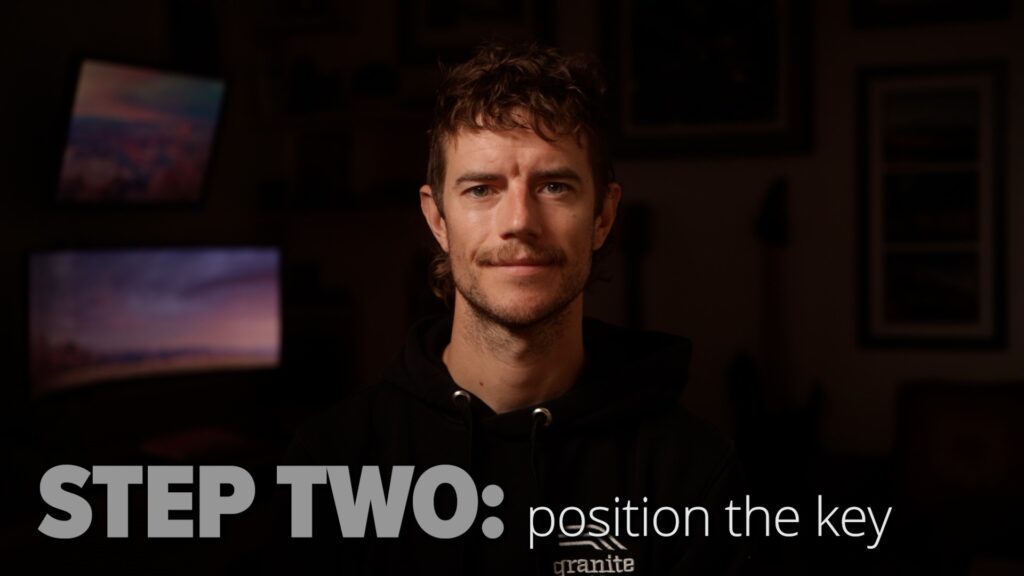
After our framing and blocking has been established, we’ll get the key light up and looking how we want it.
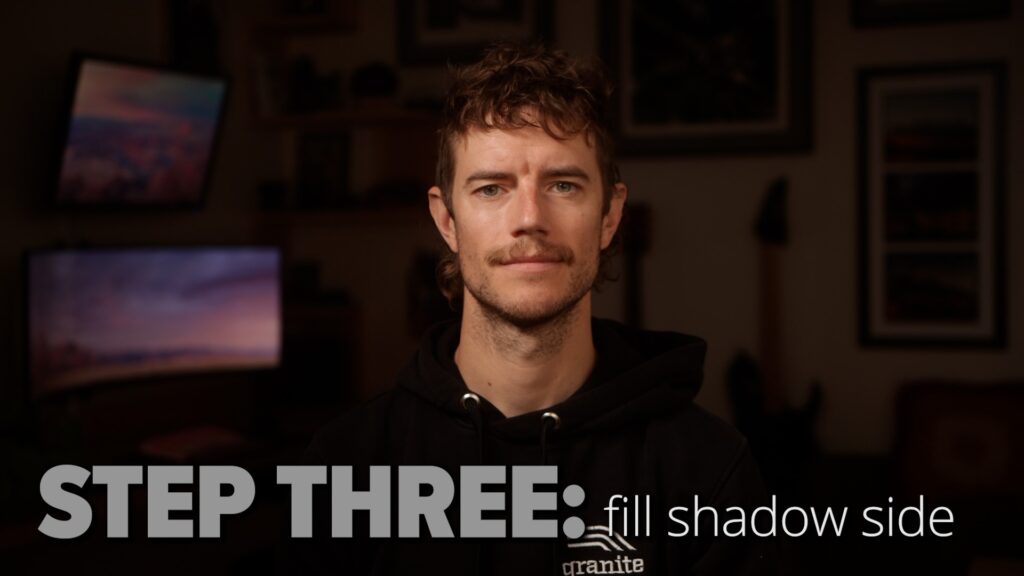
Then, we’ll fill in the shadow side of our talent to get the ratio that we’re looking for.
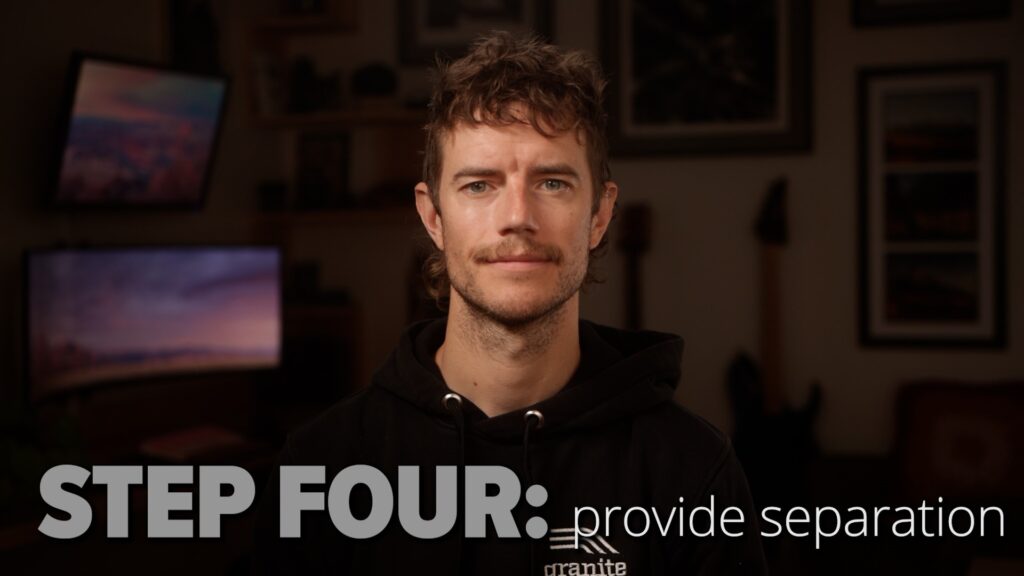
Next, providing our talent with a little kicker from behind will help separate them from the background.
Then, if necessary, we can introduce a light, or lights, to get us to our desired brightness level of the background or rest of the frame.
And last, we’ll want to add some eye candy to our frame using practical lighting, which helps bring the frame to life.
As we cover the three main scenes featured in these two commercials, you’ll learn how this 6 step process was applied to light three completely different looks!

scene one

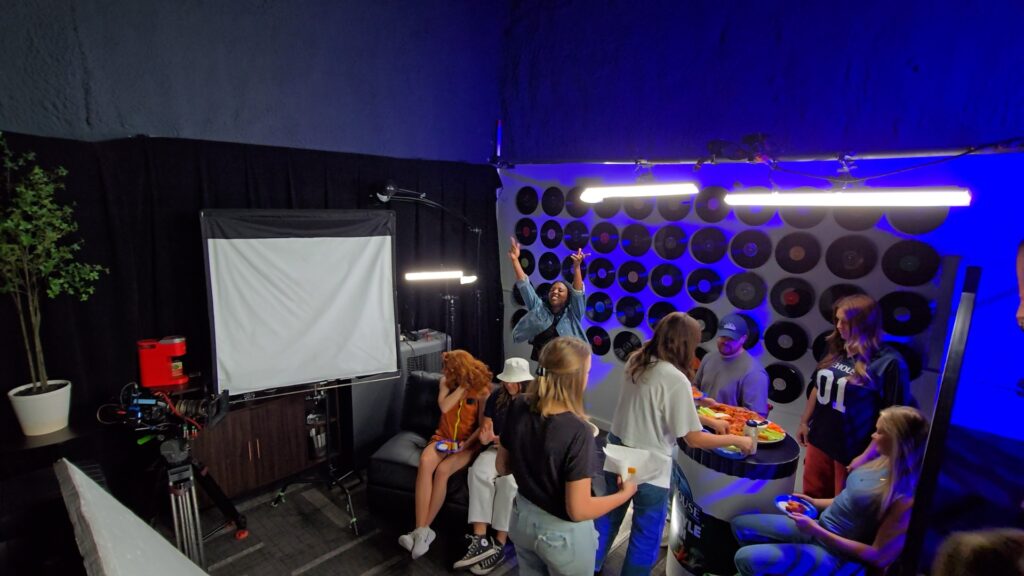
The first scene is the one that barely appears at all in either commercial, but took us the longest to figure out because of the weirdness of the space.
 
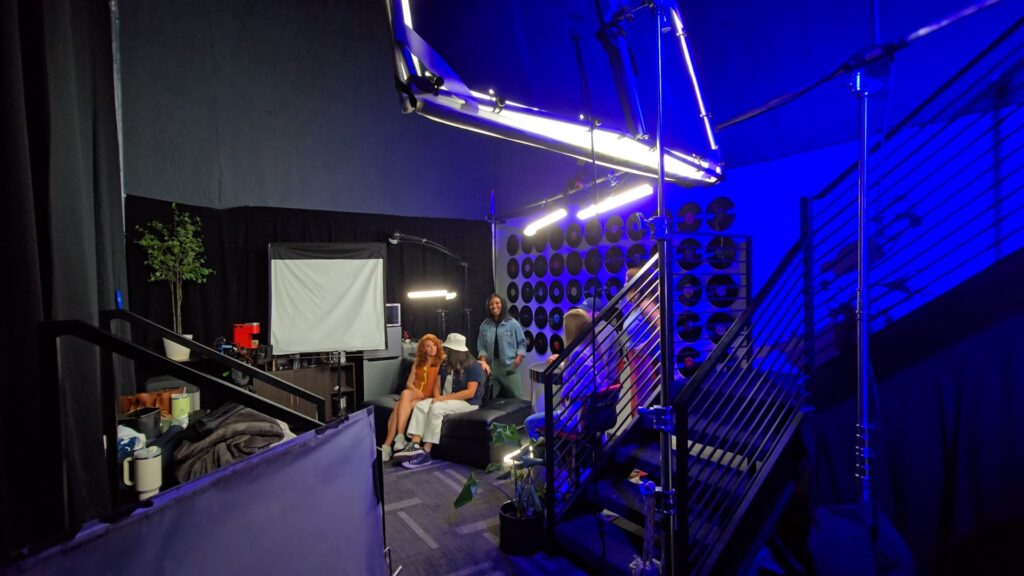
We knew we wanted to film in this corner of the studio that we were working in because the client wanted to have some kind of “record label” vibe spot. But shooting directly into the corner, and against the wall like this was going to be pretty tricky to make look good.
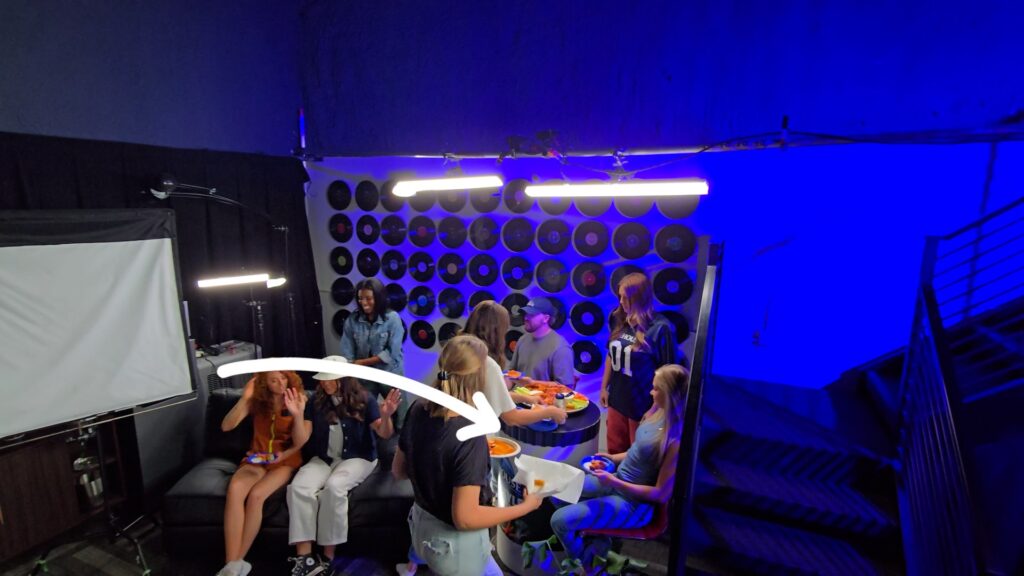
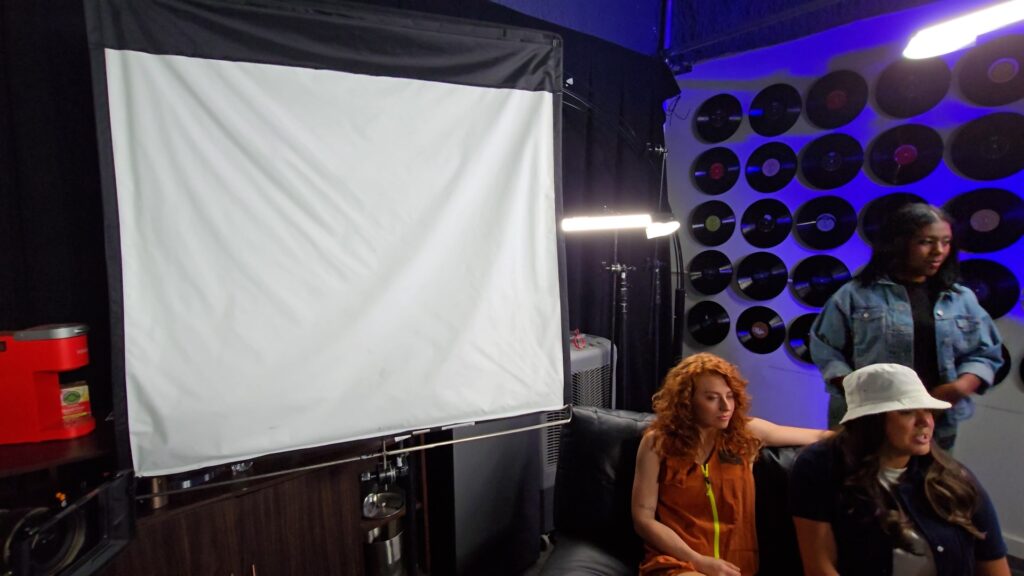
So first things first, let’s place our talent and get the frame up. We moved the couch away from the wall, and placed the litehouse ranch bar table in the corner near the stairs. Moving the couch from the wall and shooting into the “corner” like that helped reduce the flatness of the image. The area behind the stairs also has a little more depth and is definitely more interesting than if we were to directly shot into the actual corner with the black curtain.
Once the scene was blocked and the camera framing was established, it was time for Eric and I to position the key light properly.
 
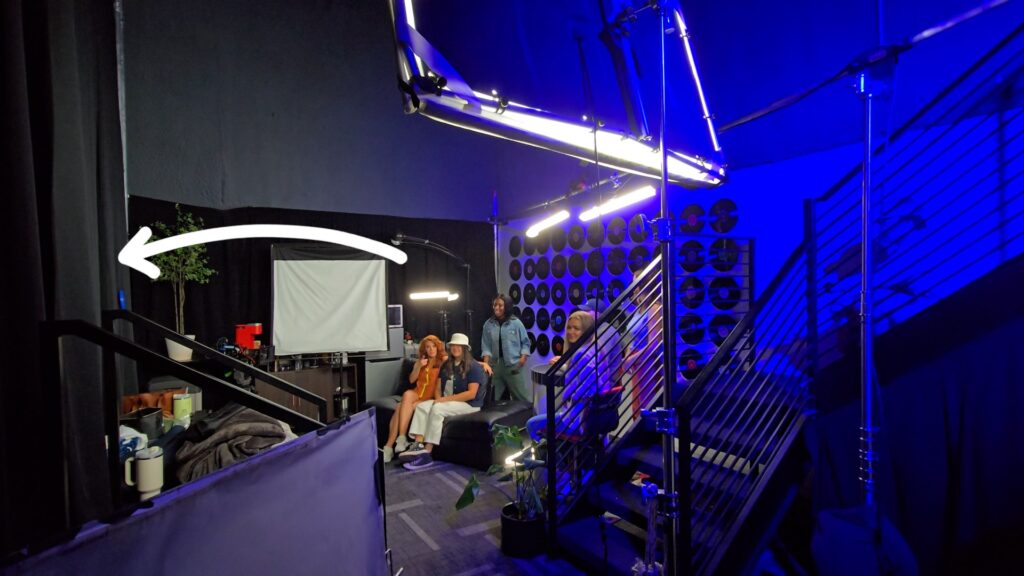
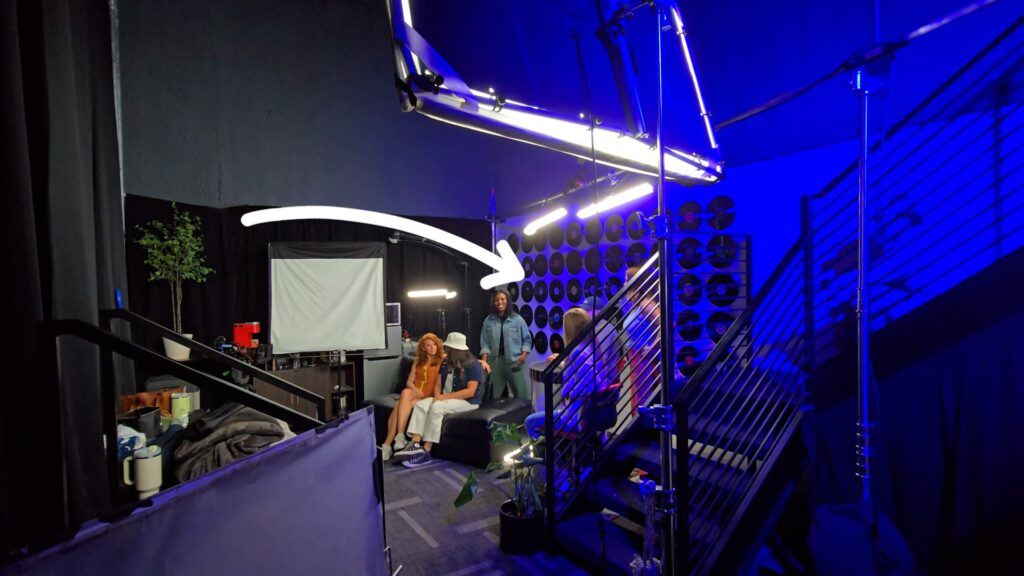
Now, if we pushed light directly from camera right into the opposite wall, our talent *and* the wall would be approximately the same intensity, which would end up with a scene lacking in visual depth. Coming from this direction would also have pushed light frontally into the talent’s faces, giving them a flat look.
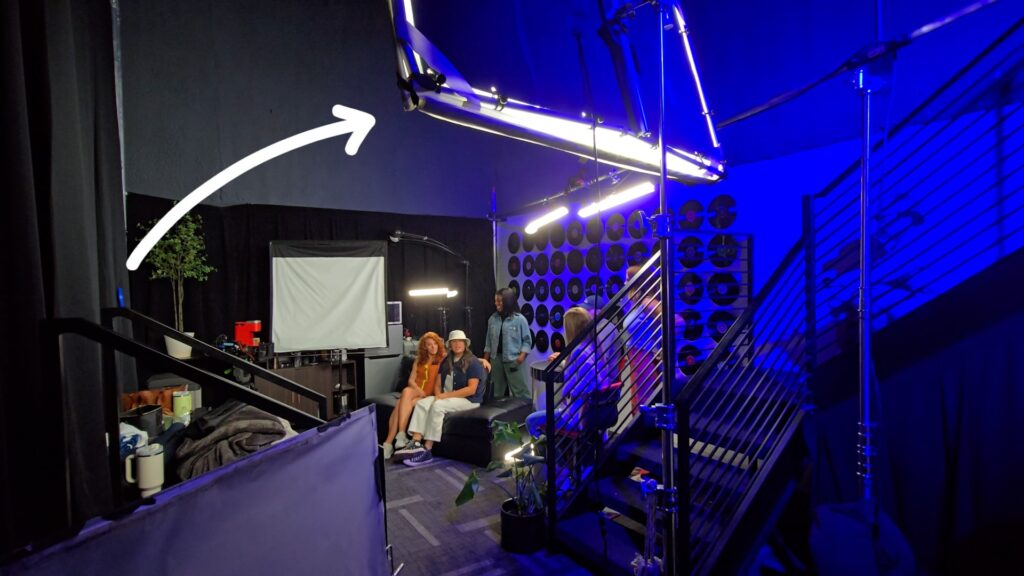
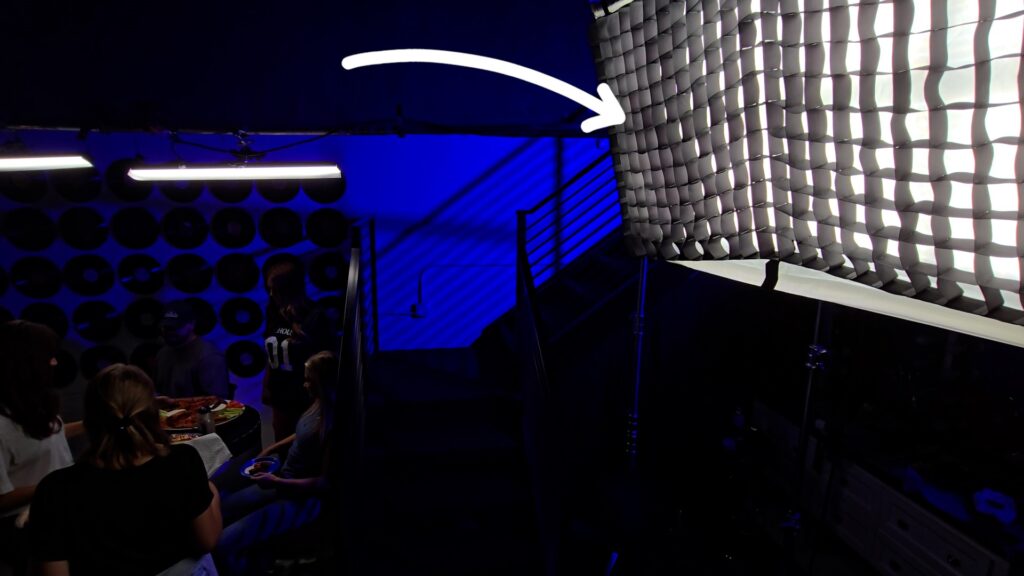
So to resolve both of these issues, we decided to place the key light in a far-side key position, much further back in the space than next to camera, and to get it as relatively close to the edge of frame right as the space would allow. The Intellytech Mega-litecloth ended up working perfectly here, as it’s a 5×3 bi-color panel that gives a soft look in a compact form factor to make the most of the weird space limitations, like this stage being here and the curtains being a part of that. This had a grid placed on it to help control the spill from affecting the blue wall.
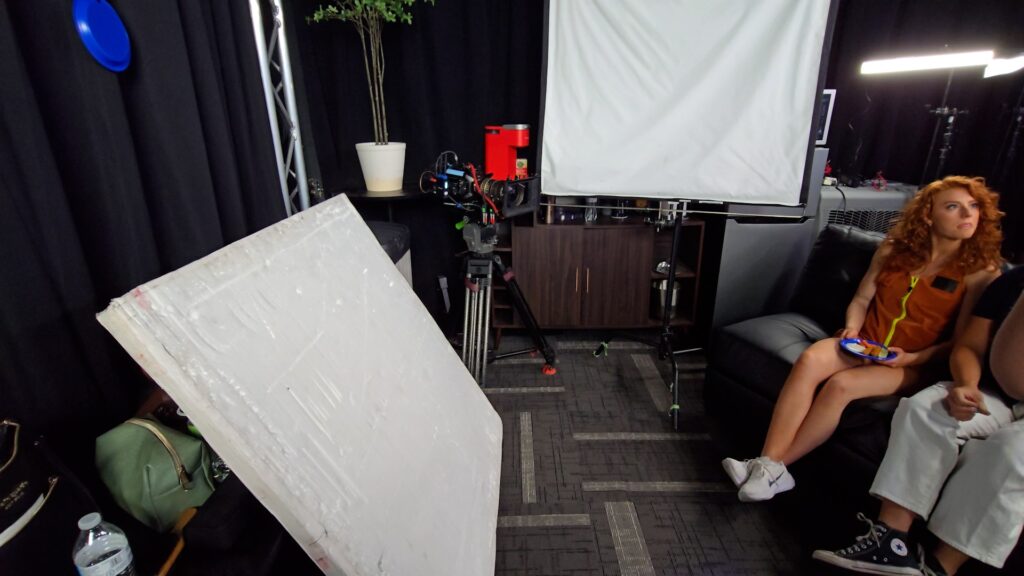
Next, two bounces were placed to help fill the shadow areas of our talent sitting on the couch. A 4×4 ultrabounce landed just camera left to fill in the shadow side, and a 4×4 beadboard helps lift the area under the chin.
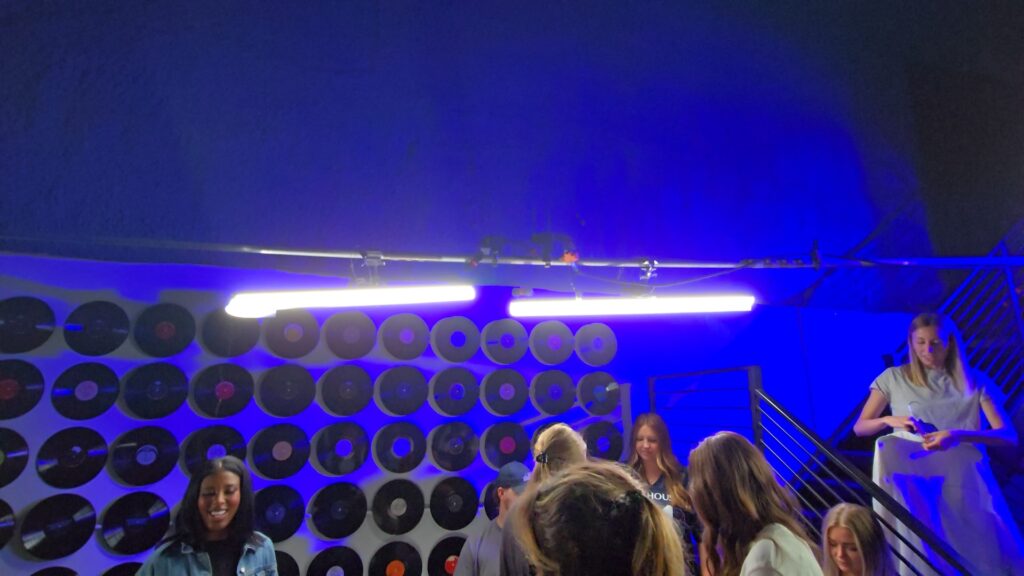
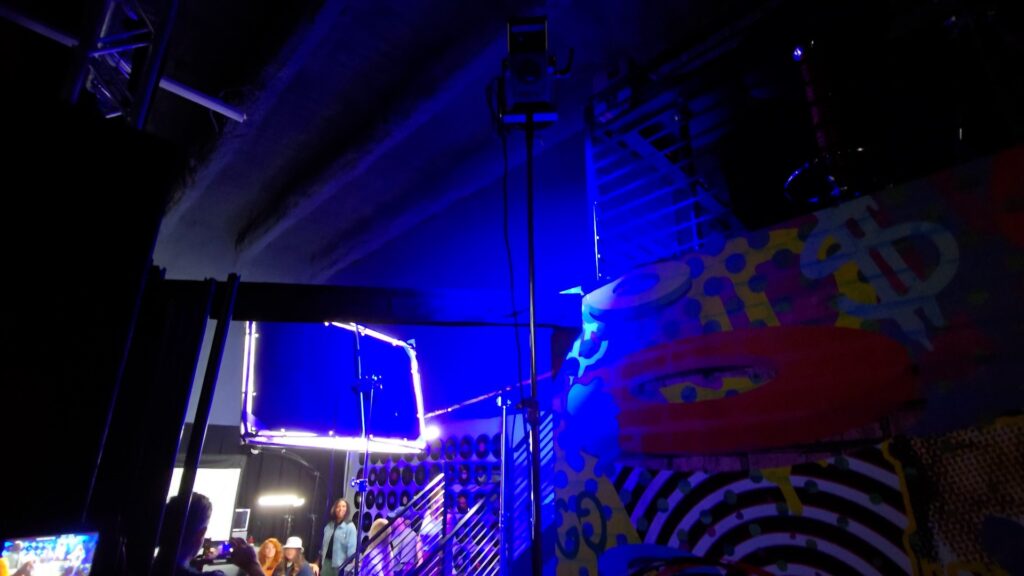
To provide separation for everybody on the couch from the wall, as well as an overhead “key” for the back table, the key grip, Eric, built this speed rail rig to enable two Aputure Infinibar PB12’s to be suspended over the space. These bars were gaff-taped on the back, which reduced their spill onto the wall, keeping the blue hue nice and saturated.
An additional 2′ bar was placed off camera left to help provide additional separation to the talent on the couch in the foreground.
Lastly, two lights help add viewer interest to the scene. A 2′ Infinibar just behind the couch is adding a splash of light to the litehouse ranch logo on the bar table, and a Kelvin EPOS 300 casts a brand-specific blue hue over the back wall, adding color contrast to the warmer hues.

scene two

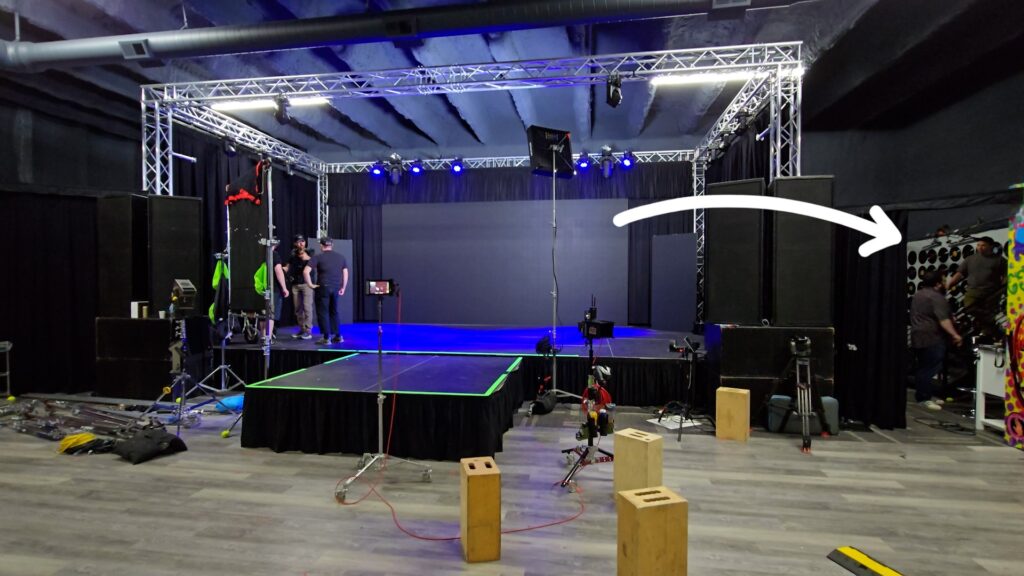
Let’s move onto the second scene, this live performance scene with the giant LED wall in the background. As difficult as the first one was to light, this second one was basically the opposite, and even required less equipment than we initially planned on.

As you can see in the original diagram we drew over coffee, Justin, our DP, and I thought that for the key we’d need a 1200d punched through an 8×8, then we’d use a 6×6 to help return some fill, maybe we’d accent
that push with the amaran f22c, and finally we’d use two Kelvin EPOS 300’s as a couple of positionable rear kickers.
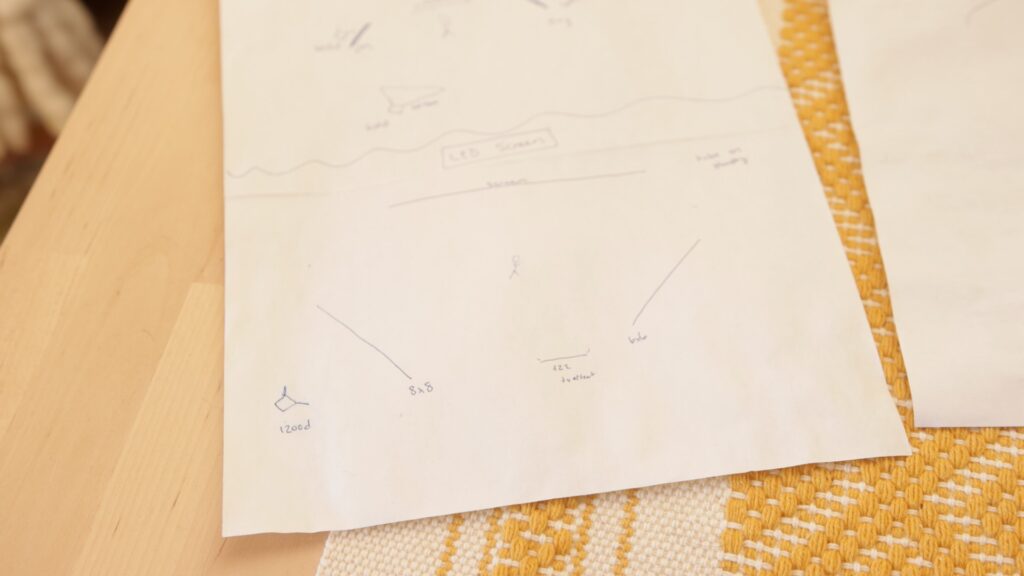
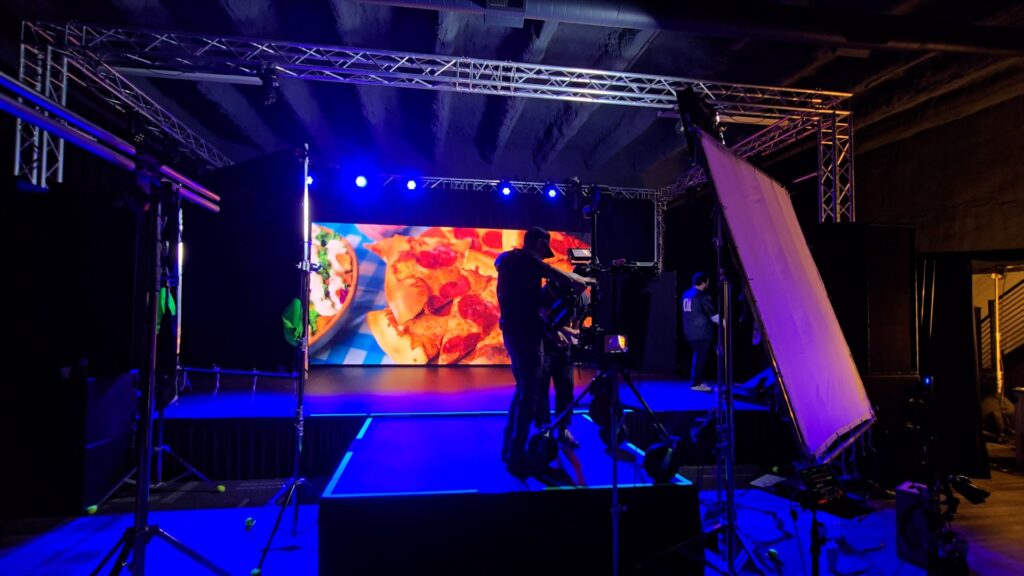
But, no plan survives first contact with the enemy, so what actually happened on set day?
 
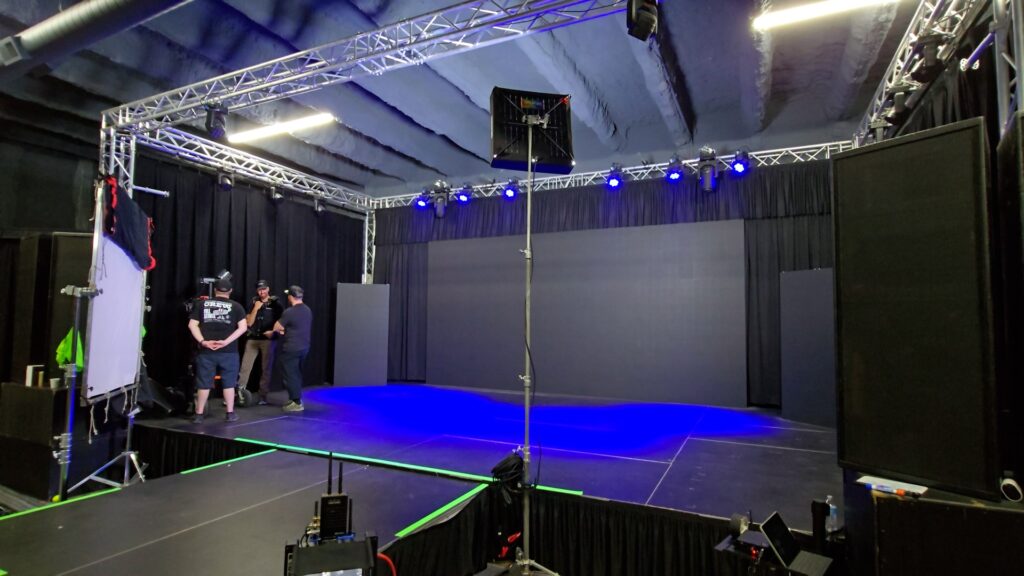
We knew the talent was going to be dancing on stage in this general area, and that it was going to be a steadicam shot. So, Eric and I knew we should keep the stage as clear as possible to allow Kevin Andrews, our steadicam op, and our talent to do their thing. Blocking and framing established!
Moving on to the key, we ended up using the amaran F22c. This was set to the TV effect at 40% intensity because Justin wanted to mimic some of that LED wall behind the talent kind of wrapping around with our key.
 
We tested the TV effect look with the Aputure 1200d through the 8×8 and the Amaran f22c with no modifier, and we both decided the amaran f22c provided a convincing TV effect than the 1200d. Also, a slightly harsher shadow kind of matches a live performance better than something super soft since every stage for a concert is light with point source lights. So, Justin and I were more okay with having a slightly harsher key light shadow than if this were less of a live-performance, being on a stage, type-shot.
 
Another consideration was how much time we’d have on shoot day. Because of the amount of coverage we needed to grab, the team definitely wanted to maximize the time that we were recording and minimize transition time.
 
Using the amaran f22c as the key would mean G&E could be reset in minutes between scenes as Eric and I would only have to move the shadow bounce.
On to step three, lifting the shadow side of the main talents face. A 6×6 ultrabounce was used so that it could return some of the moving light from both the LED wall and the TV effect from the Amaran F22c. Doing this gives a little life and character to the fill, blending it into the scene better than than if the fill had been from a static light.
Steps four and six combine into one here, instead of needing the EPOS 300’s as rear kickers to separate the talent from the background, we were able to use the installed location lighting. We also occasionally see these lights in frame as practicals that help sell the “stage setting”.
 
We skip step five altogether since we didn’t need any additional space fill to this one.

scene three

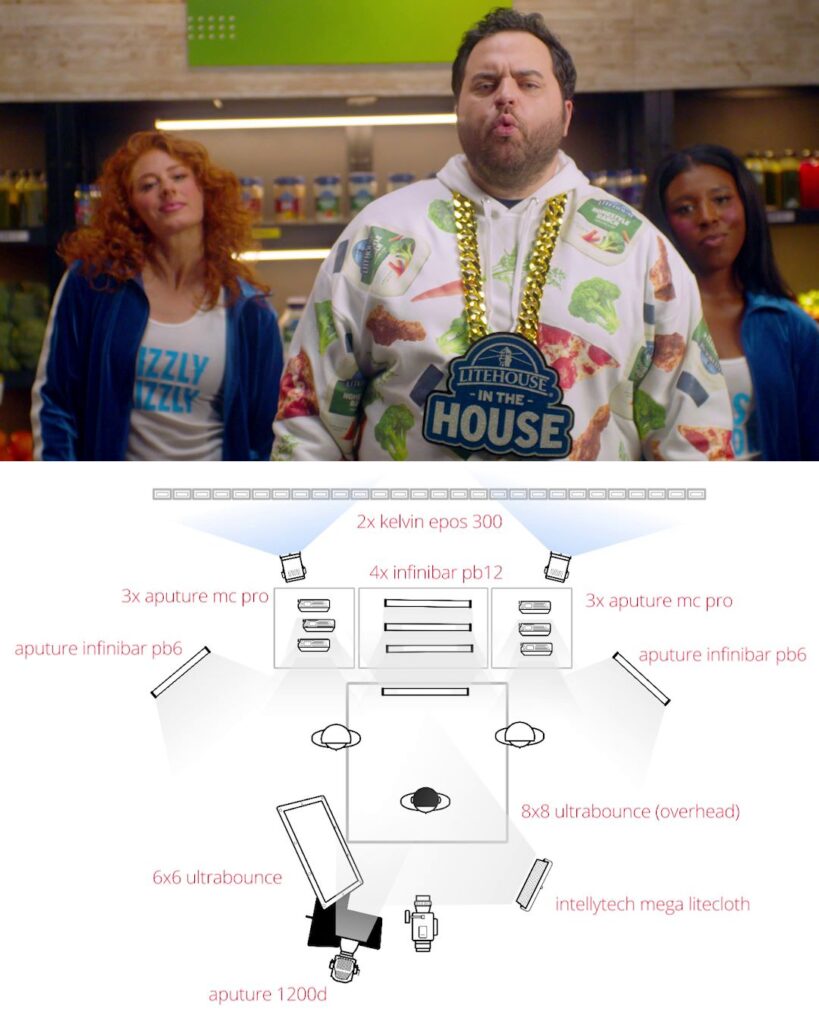
This last scene was easily the most involved out of the three to build and film, but it was also the funnest for me to gaff because I got to play with so many lights on DMX cue. And despite the size of the space, it still follows the six-step rubric we’ve been following!
 
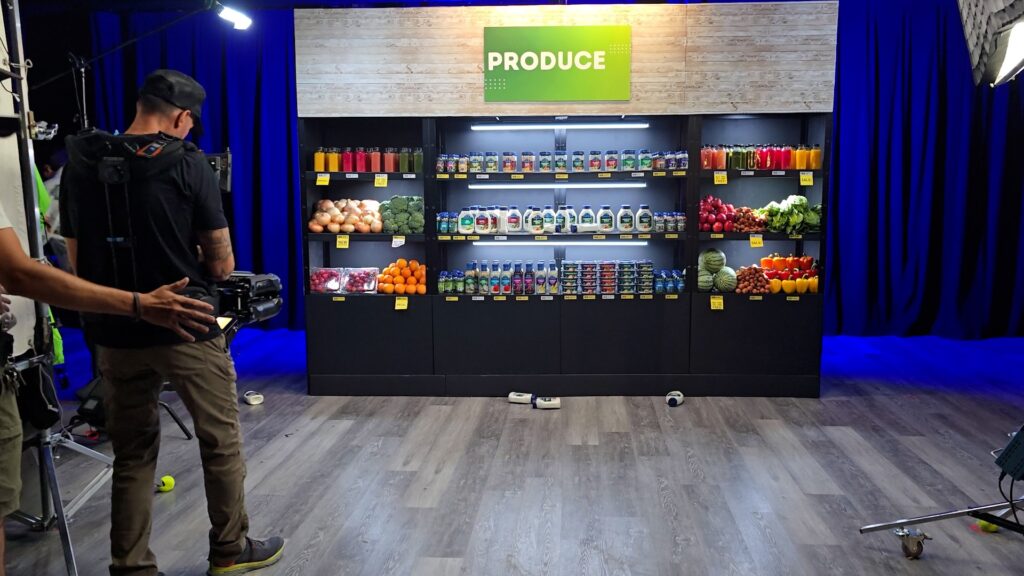
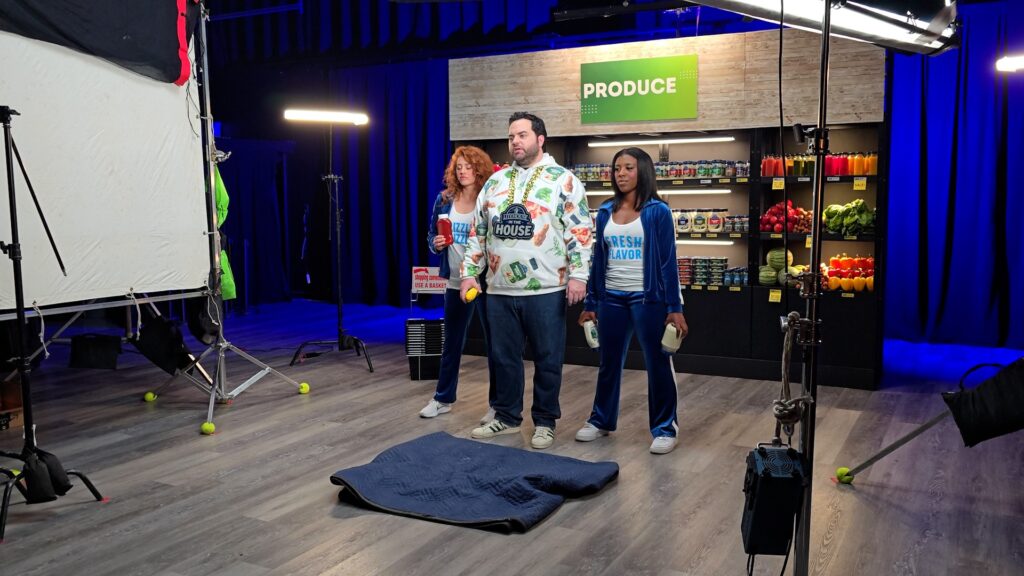
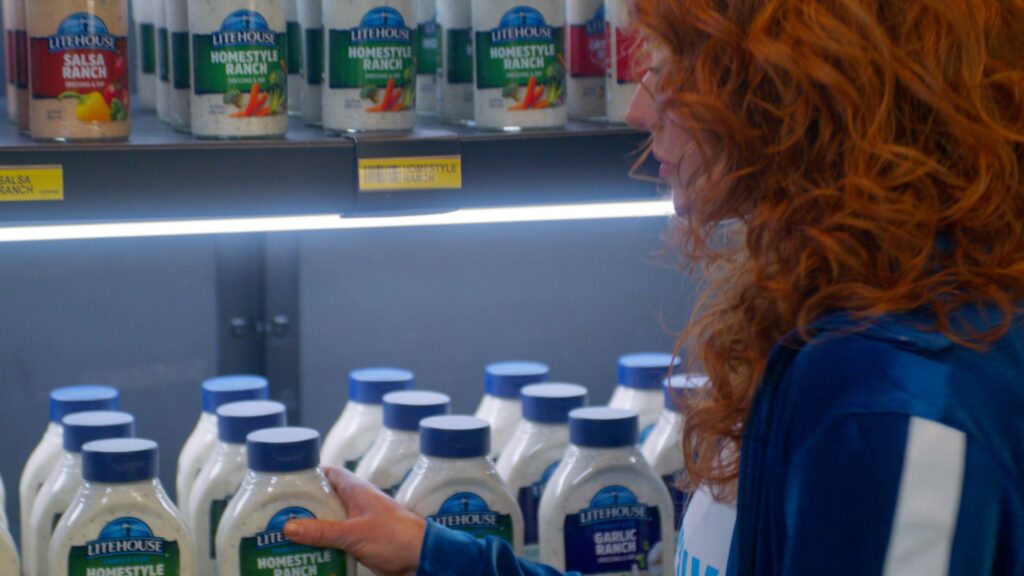
This one took place in a simulated grocery aisle that had to be built from scratch. So after our wonderful art department team built out the produce aisle and neatly arranged everything you see in the frame, it was time for Eric and I to light the space.
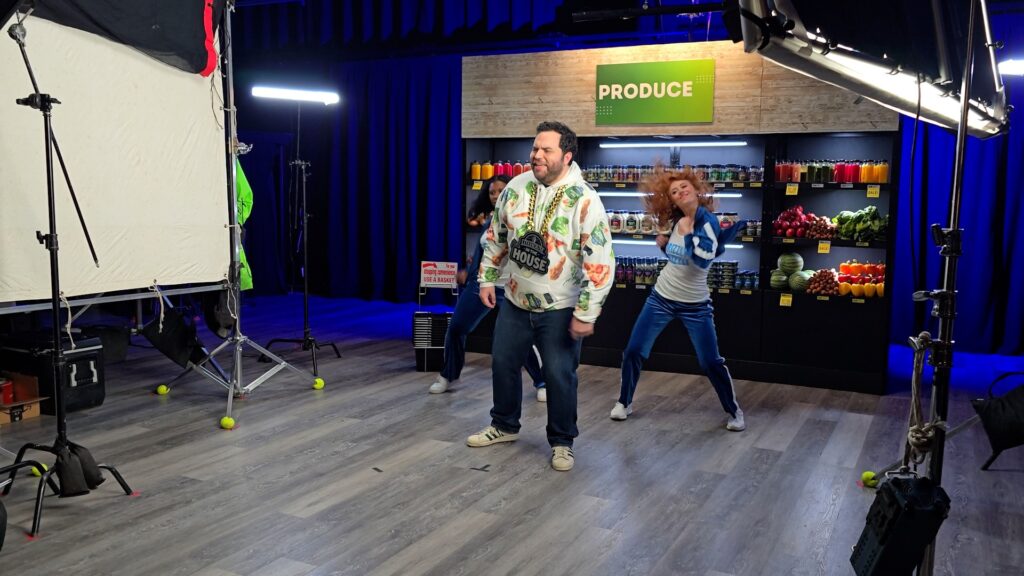
First, we knew our lead was going to be living in an area about fifteen feet in front of the produce shelves, and that he’d be moving around in like a 3-foot diameter area during the master performance take, with a dancer on either side of him and slightly behind.

Also, Justin had communicated in our coffee chat that he’d like a soft key light that could be relatively movable and controllable. Meeting both of these conditions would make it easy to get the dozen or
so shots that we needed.

That sounds like step 1, framing and blocking, has been taken care of, and we’ve even been given a nice little guideline for step 2, figuring out the key light.

Just like the first scene, the Intellytech Mega Litecloth on a roller combo stand ended up being the perfect light to use as the key. At 5 feet by 3 feet, the mega was wide enough to be flattering on our talent, and by placing it on rollers, it was very easy to position this light where we needed it to be in between takes.
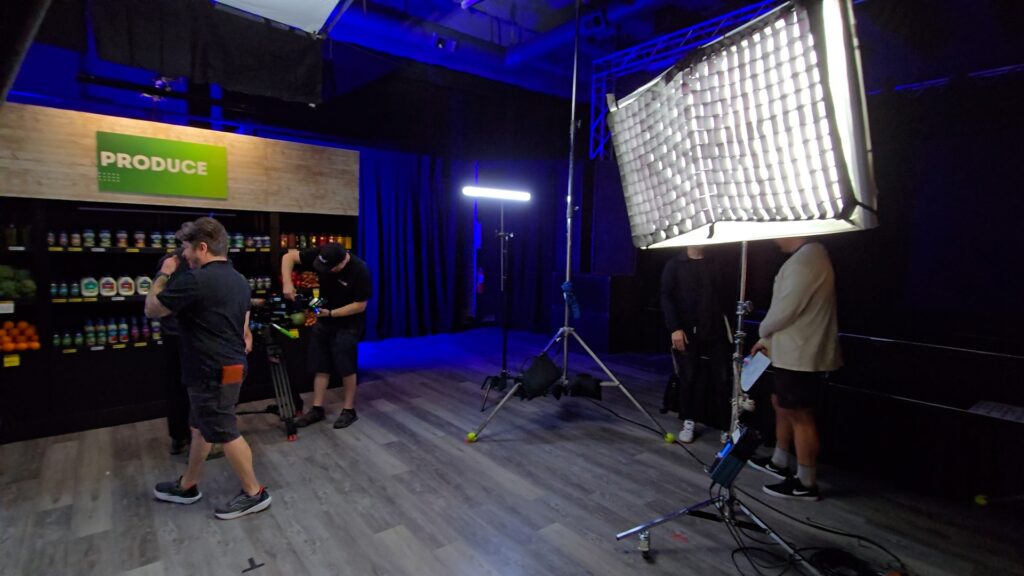
The light also comes with a grid, which was used to control how much the beam spreads out. Adding a grid also makes the light much easier to feather, which is a technique where a light, usually with a grid, is rotated until it affects the subject but not the area behind them.

By combining a grid with feathering, I was able to illuminate the subject while keeping the litecloth from hitting the produce shelving.

Without this level of control, our key light would have increased the brightness level of the background of our scene, and potentially even added reflective glare spots since the shelving was metal.
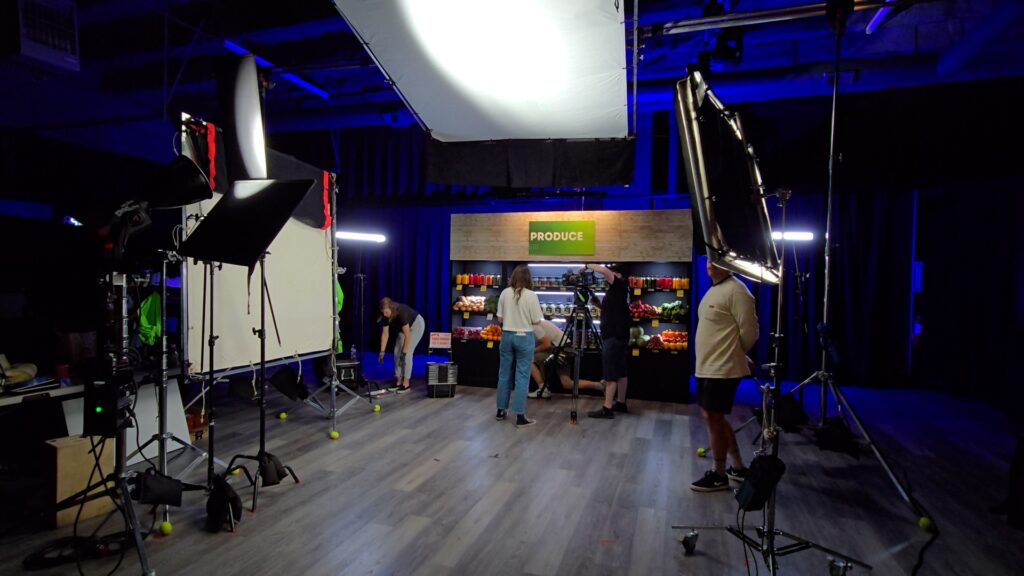
Regardless of where the talent was positioned relative to the set during the take, the key light was positioned off camera right, and kept somewhere between frontal and Rembrandt. It was also slightly higher than the talent to simulate the downward angle that we’re all used to seeing our lighting come from.
 
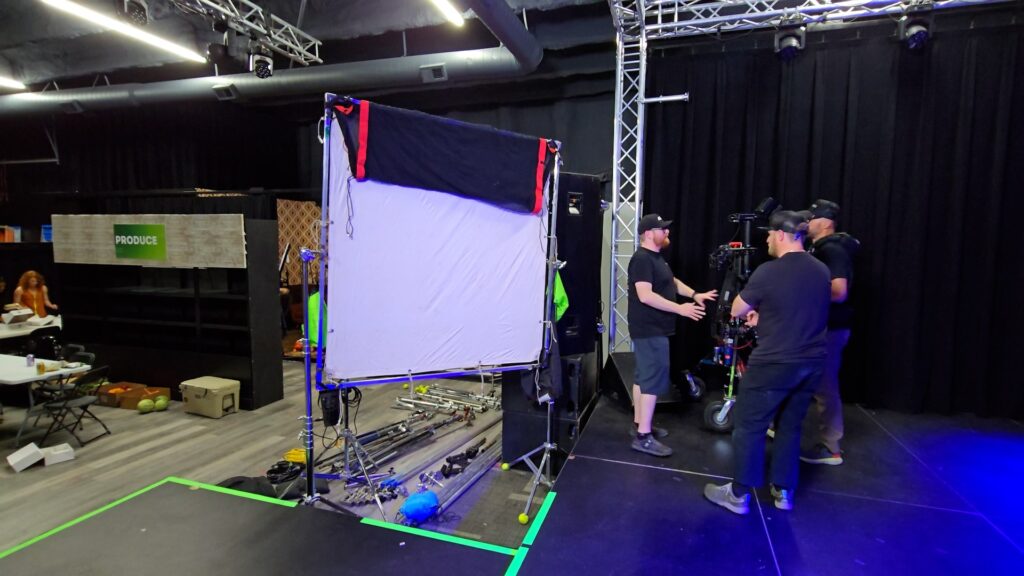
Next, we needed to increase the intensity of the shadow side of our talents face so that it would appear more evenly lit. To accomplish this, a 6×6 frame with an ultrabounce rag was positioned camera left. The size allowed Eric and I to easily reposition this during takes as necessary, as well as still be large enough to cover a wide space for the talent and steadicam op to work in.
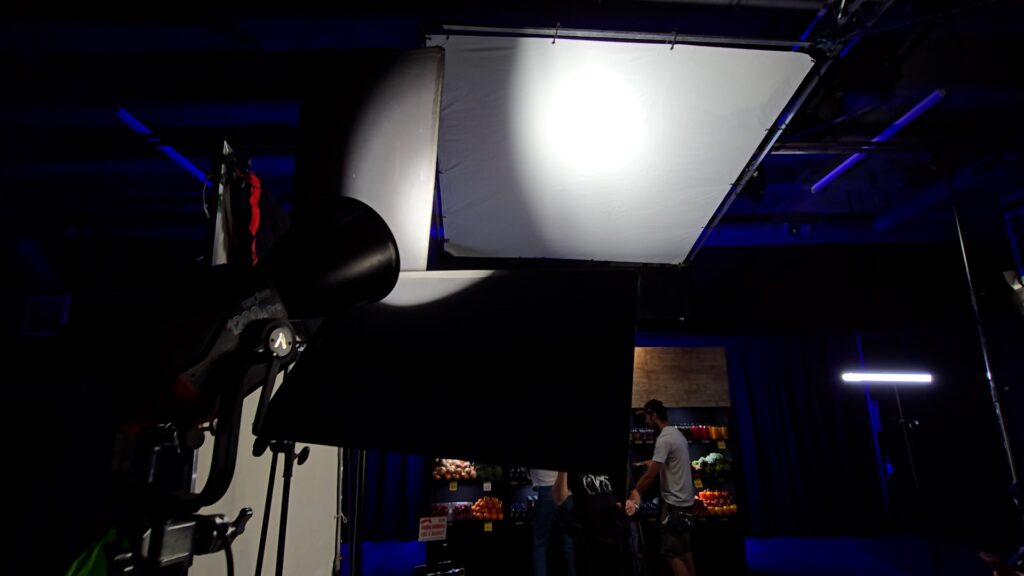
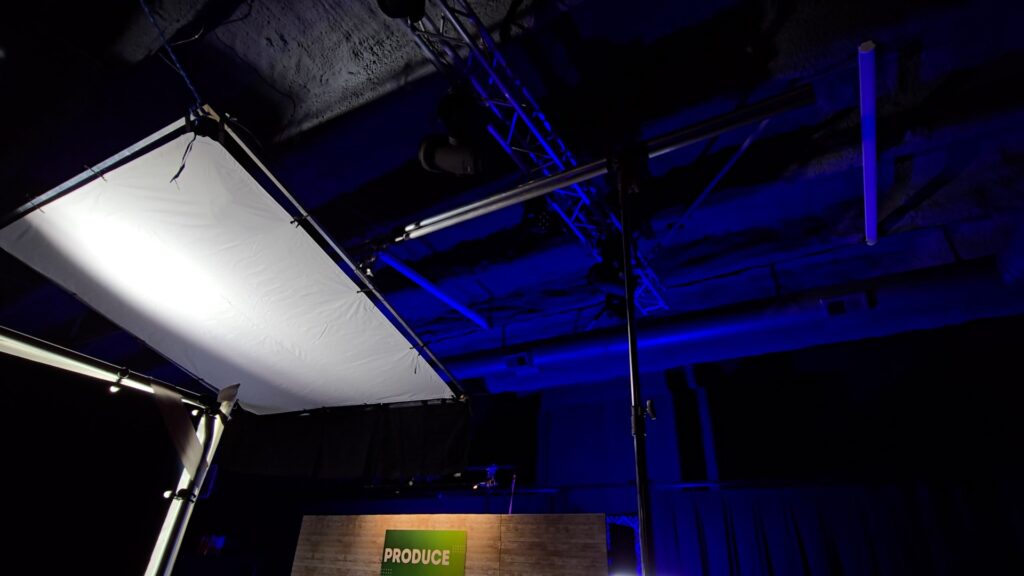
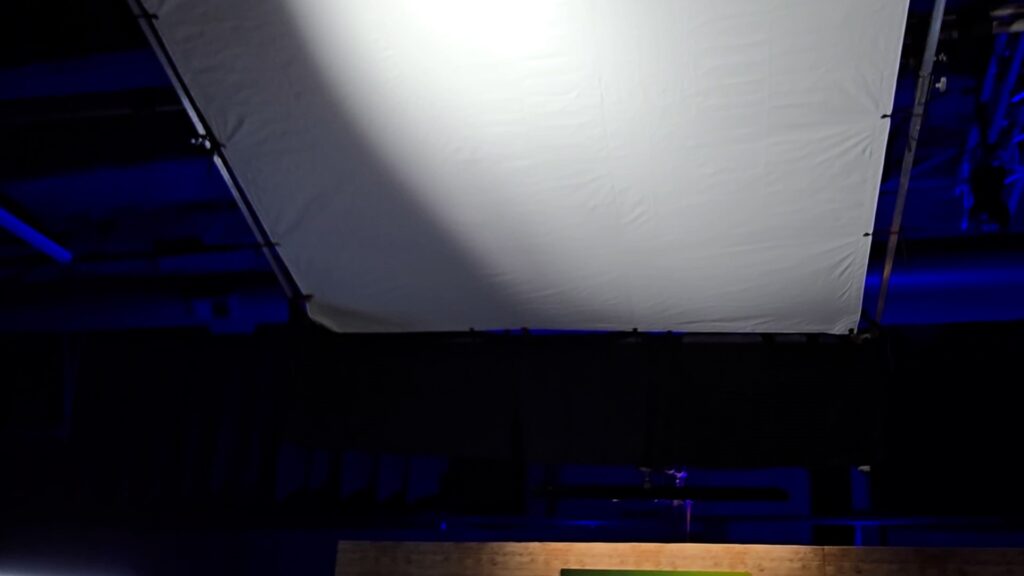
To both pop the subject from the grocery shelving, and give general “room fill” to the area where our talent would be standing, a 1200d with narrow reflector was pushed into an overhead 8×8 ultrabounce.
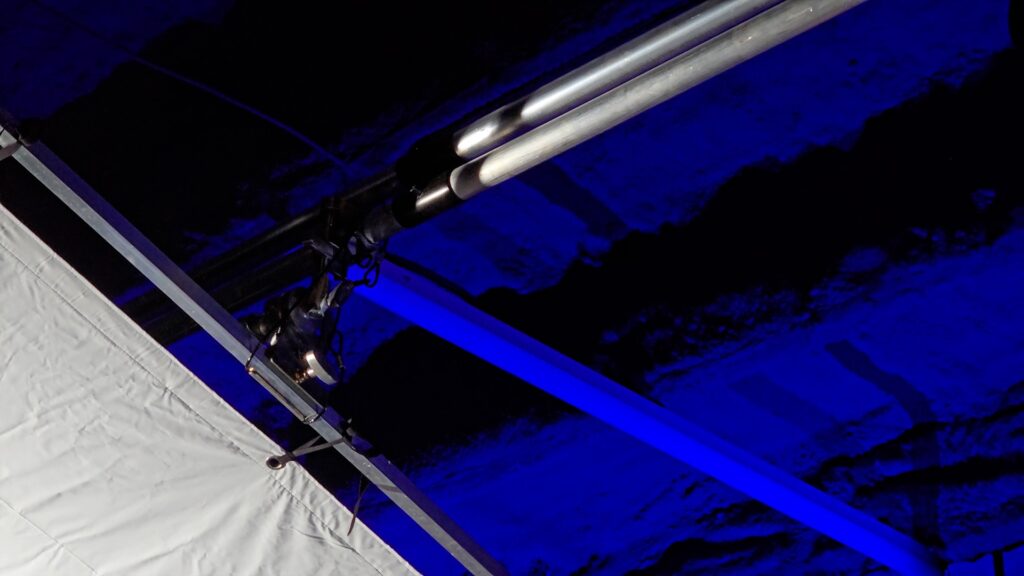
To get the 8×8 in place, Eric built out this double-stacked speed rail rig to spread across the set, which was held up with two mombo combos.
The 8×8 was then rigged to that speed rail setup, safety chained, and then tied off to a couple rigging points inside the studio for additional safety.
This was angled slightly to help return the light towards the set rather than bounce directly towards the back of the room, and had a duvetyne skirt hanging off the back of it to further help kill the rear spill.
As for the light itself, in order to keep the 1200d from spilling directly into the set, this first flag was placed horizontally in front of the light. And to have equal exposure across the width of the shelving unit, we ended up needing to cut some of the light to the left side with a second flag.
Now that we’ve got the talent and space lit, as well as provided some separation between our main actor and the background, we can move on to adding our practicals as the eye candy you see lighting up the shelves in the back of the frame.
 
To light the “produce aisle”, three Aputure Infinibar PB12’s lit the center shelving unit, and 6 MC Pros, 3 to a side, lit the two shelving units offset to each side. Because these all have built-in magnets on the back, they easily stayed in place on the magnetic shelves.
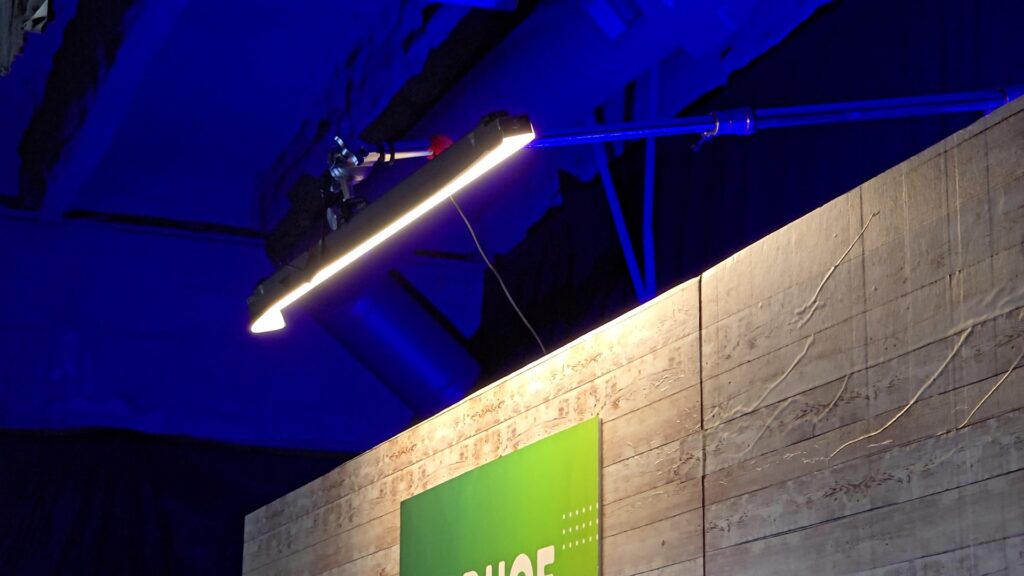
The sign above was lit by a fourth bar, boomed in from behind the shelving.
Two Kelvin EPOS 300 units were set behind the “produce aisle” to help add color to the curtains. This added some depth behind our scene in case the steadicam operator ever shot beyond the boundaries of the produce aisle, as well as added some brand color to the background.
Lastly, two of my 2′ infinibars were placed on c-stands and set just out of frame behind the dancers. These helped to provide a little background separation between them and the produce aisle.
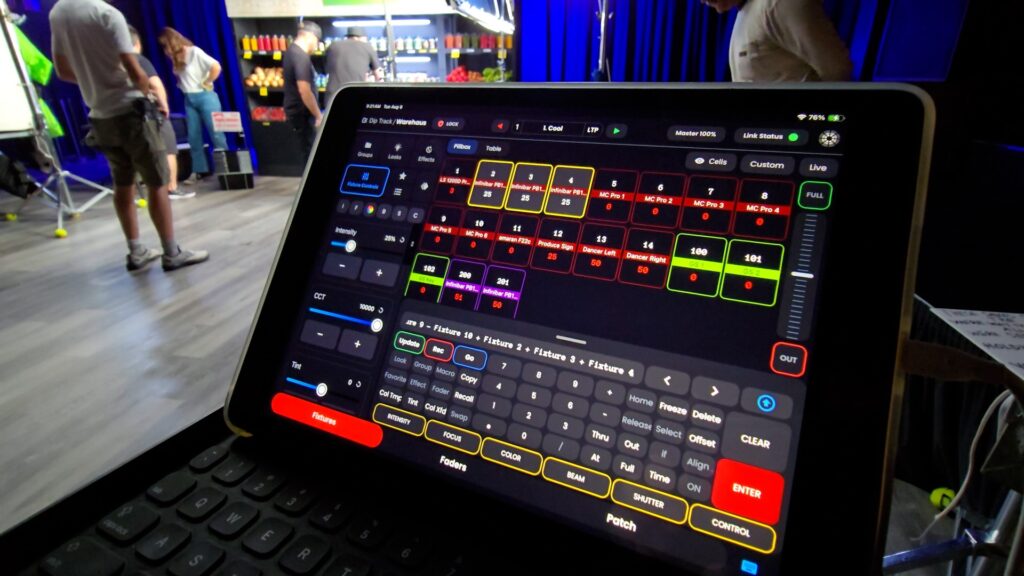
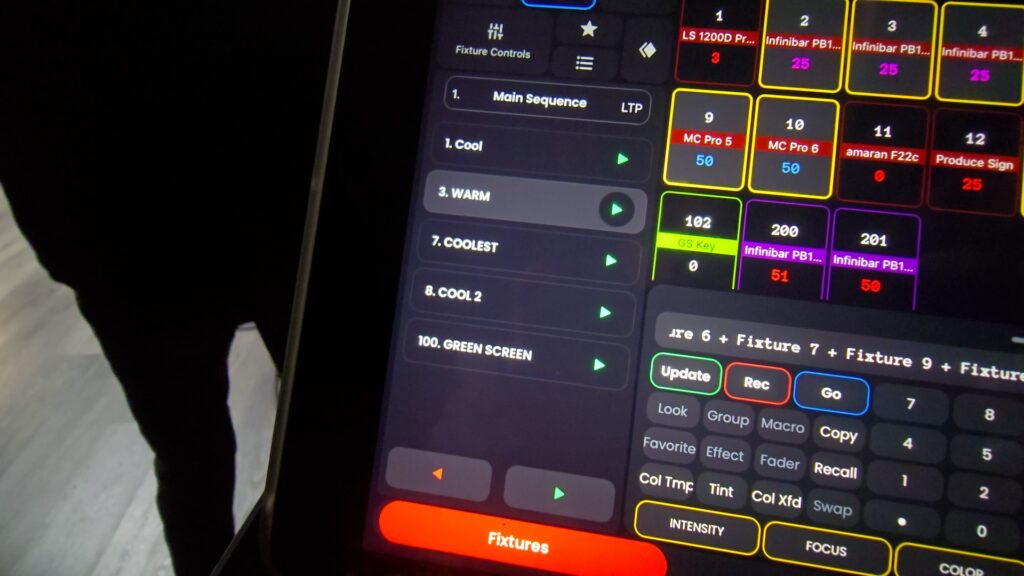
In order to make it easier to record all the takes we’d need for two songs in one day, all of my lights were controlled via Blackout Lighting Console with my Lumenradio Aurora CRMX transmitter.
I was able to save all of the lighting for each song as two separate looks, and flip back and forth instantly whenever the take called for it.
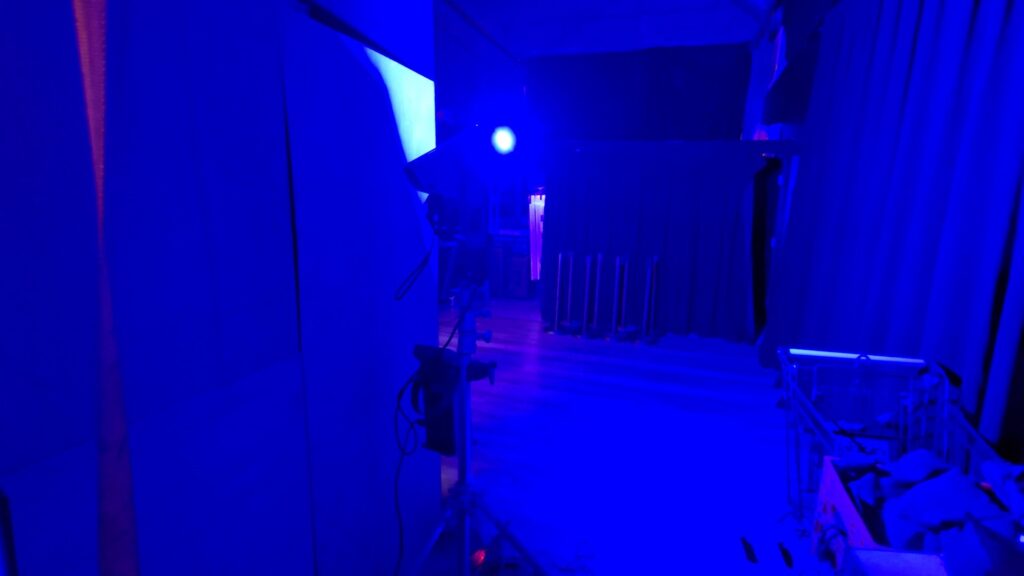
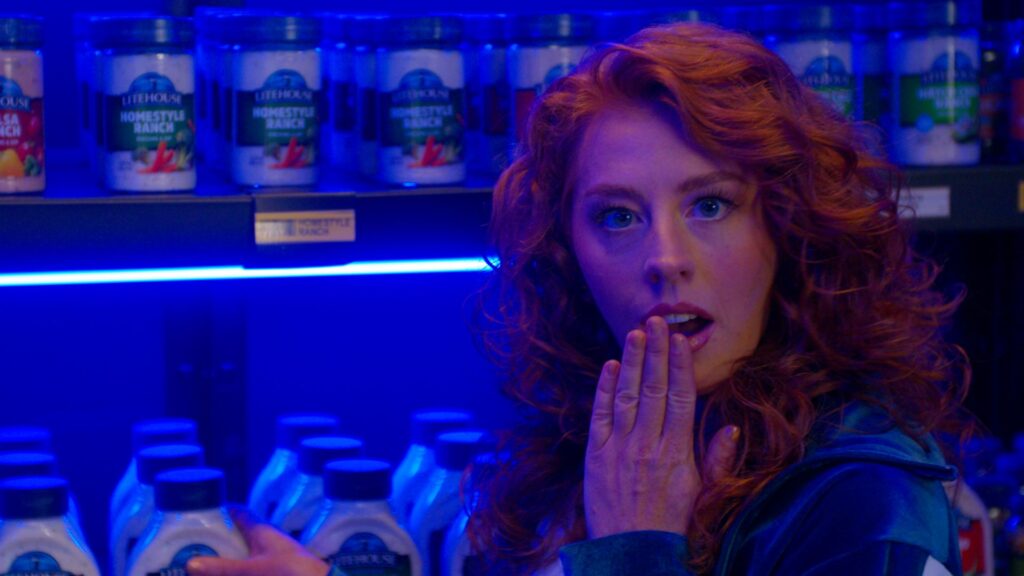
And as a result of having everything on CRMX control, I was also able to program *this* fun little cue where the lights go from daylight to blue, which was an idea that the client and directors came up with during set day.
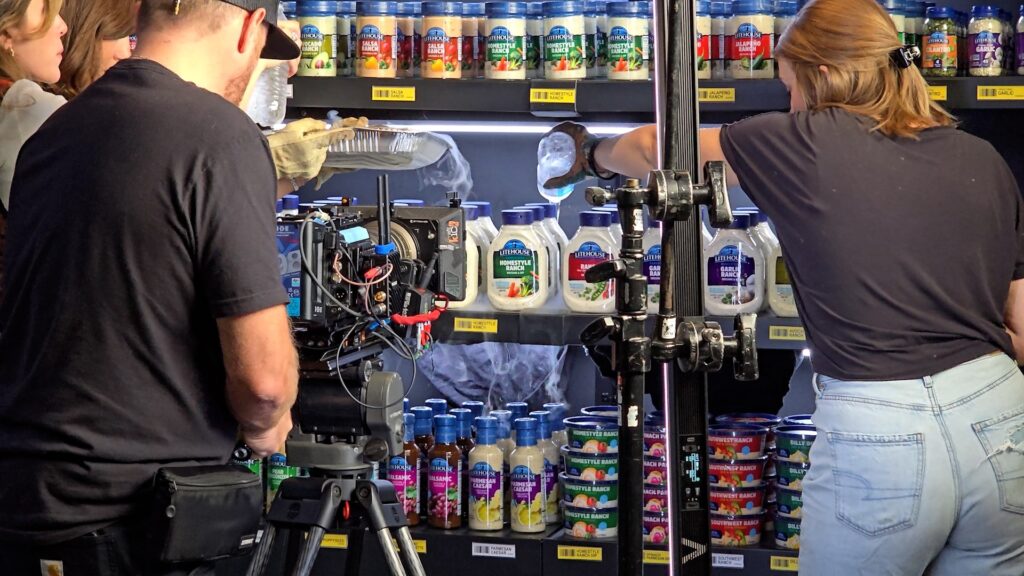
Lastly, this setup is also where the “smoke” effect insert shot was filmed. The effect was achieved by slowly adding water to a baking pan filled with dry ice. The resulting evaporate was then gently poured over the rim of the baking pan.

conclusion

Now that you’ve seen how the process for lighting an interview can be applied to lighting larger scenes, I hope you feel more confident walking into any location and lighting your own sets!
 
Just remember: step 1, find your framing and blocking. Step 2, place your key and control it if necessary. Step 3, balance the shadow side of your talent with bounce or negative fill. Step 4, add separation to the talent from the background. Step 5, lift the room levels if necessary with an additional light or lights. Step 6, add some eye candy to your frames with practicals.
 
Five simple steps to make any frame cinematic, not just your interviews!
 
If you’re wondering why I didn’t cover a few of the scenes, either I wasn’t involved in lighting them because they were shot with a skeleton crew, or they were assets that Litehouse Ranch had from previous commercial shoots.


Thanks for reading along!

connect

follow me

disclaimers

Some of the links in Tyler’s blog posts are affiliate links, which means that qualifying purchases will help financially support Tyler at no extra cost to you. If you wanted to purchase something else but still support Tyler, please use the following link: https://amzn.to/3WdnsdM

This blog post contains only Tyler’s opinions about G&E, gaffing, and LED lighting, and was not reviewed or paid for by outside persons or manufacturers
 
Tyler Trepod is a freelance owner/operator gaffer of a 1-Ton Grip & Electric truck based in Denver, Colorado and serves the Boulder, Denver, Colorado Springs, & Fort Collins markets